
Making your own shave oil should be simple. Look through a few recipes, though, and you’ll quickly find bottles packed with carrier oils, essential oils, vitamin E and all sorts of extras.
I don’t think a longer ingredient list automatically makes a better DIY shave oil. What matters is how the finished blend behaves on your skin and under the razor, and that’s where some homemade recipes make things more complicated than they need to be.
If you’re going to make your own, I’d rather know why each ingredient is in the bottle than throw everything together because another recipe says it belongs there.

In this article
DIY Shave Oil Recipe
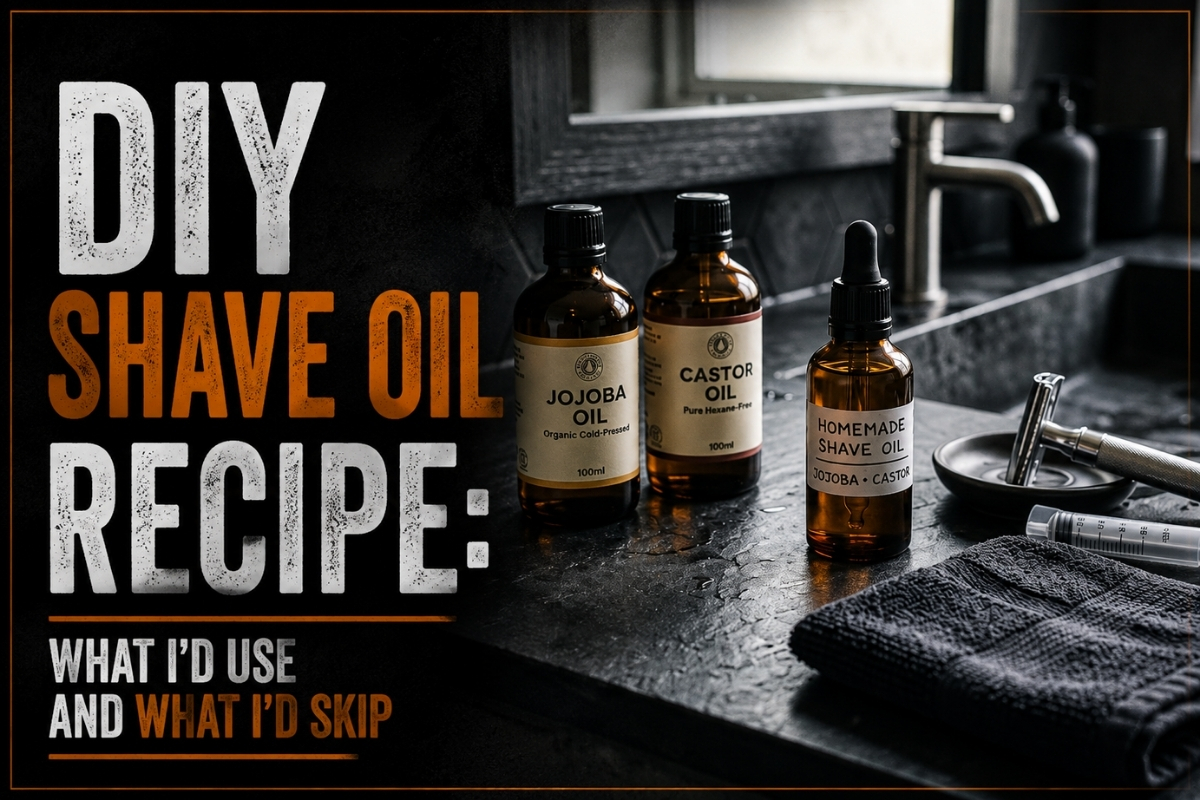
For your first batch, start with a straightforward blend of jojoba oil and castor oil, then see how it feels in use before changing the formula.

For a 30 ml (1 fl oz) batch, use:
- 22.5 ml jojoba oil
- 7.5 ml castor oil
- One clean, dry 30 ml dropper or pump bottle
- A small measuring syringe or graduated measure
That gives you three parts jojoba oil to one part castor oil. It isn’t a magic ratio, but I think it’s a sensible place to start. Jojoba makes up most of the formula, while the smaller amount of thicker castor oil gives the blend more body without letting it become too heavy.
Measure both oils into the bottle, close it and give it a gentle shake. If you’re measuring by parts rather than milliliters, use the same measure for everything: three measures of jojoba to one of castor. There’s no heating or complicated mixing involved.
Keep the bottle somewhere cool and away from direct sunlight, and don’t let water get into it. The oils can still oxidize over time, which is another reason to make a small batch. If the blend develops a noticeably stale or rancid smell, throw it out.
Make the first batch at 3:1 and use that as your reference point. If it feels heavier than you want, reduce the castor oil in the next batch. I wouldn’t immediately start adding more ingredients when changing the ratio may be all you need.
Why These Two Oils Work Together
I chose jojoba and castor oil because they give the finished formula two different qualities, and each has a clear job.

Jojoba is technically a liquid wax rather than a typical oil. It’s made largely from wax esters and is widely used in products for the skin. Here, the useful part is straightforward: it spreads easily and makes up the less viscous part of the formula.
Castor oil is much thicker and rich in ricinoleic acid, so it makes sense in a smaller amount. It adds some body to the blend without turning the whole thing into something difficult to spread.
For a shave oil, that balance matters. You want something you can work easily over damp skin without leaving a thick coating before the razor even touches it.
Jojoba and castor aren’t the only oils you could use, so I wouldn’t present this as the one formula that works. I like the pairing because each has a clear role. If you later want to change the texture, you also know which part of the formula to adjust.
I’d Use Homemade Shave Oil as a Pre-Shave First
If you’ve never used homemade shave oil before, I’d start by using it under your normal shaving cream or soap rather than replacing either one straight away. That lets you find out whether the oil actually adds anything to your shave without changing everything else at the same time.

Wet the area you’re shaving and leave the skin damp. Work a small amount of the shave oil over the skin, then apply your shaving soap or cream lather over the top. You only need a thin layer underneath.
The reason I’d start this way is simple: your usual shaving product may already give you plenty of lubrication. Adding the oil underneath gives you a chance to judge whether it makes the razor feel better on your skin.
If you can’t tell much difference, I wouldn’t keep an extra step in the routine just because you’ve made the oil. Pre-shave oil is optional, not something every shave needs.
You can also try shaving with the oil on its own. If you do, pay attention to how comfortably the blade moves over your skin rather than assuming more oil will fix everything. If the blade starts dragging or the shave simply feels worse than it does with your normal cream or soap, I’d go back to using the oil as a pre-shave rather than forcing the oil-only method.
If the blend irritates your skin, stop using it.
Too Much Oil Can Make the Shave Worse
Shave oil is easy to overdo because a small amount will spread further than you expect. More oil doesn’t automatically make the shave better, and using too much can create problems that have nothing to do with the recipe itself.

The razor is often where you’ll notice it first. If oil, lather and cut hair start building up between the blades and you’re having to rinse constantly to clear it, cut the amount back before deciding the blend is too heavy.
This can be especially noticeable with cartridge razors because the blades sit close together.
You can see it on the skin too. You want enough oil to cover the area you’re shaving, not a heavy layer that looks slick, runs down your face or leaves far more product behind than you can actually use.
If the blade still feels rough, I wouldn’t automatically reach for more oil. A dull blade, lather that’s getting too dry or poor shaving technique can all make the razor feel worse on your skin. Adding another layer of oil won’t solve those problems.
Pay attention to what’s left afterward as well. If you’re having to work at washing away a heavy oily residue, that’s another sign to use less next time. On the other hand, if a small amount spreads easily and doesn’t get in the way of the razor, there’s no reason to keep adding more.
I wouldn’t get hung up on counting drops once you know how the blend behaves. Judge the amount by the shave itself. And before you start changing the 3:1 recipe because it feels too heavy, I’d reduce the amount you’re applying first.
What I’d Leave Out of DIY Shave Oil
A DIY shave oil can get complicated quickly once every optional ingredient starts sounding useful. For this recipe, I’d only add something if it solves a problem the jojoba and castor blend doesn’t.

I wouldn’t add essential oils just because most recipes include them. Peppermint, tea tree, eucalyptus and lavender can add scent, but none of them is needed for the shave oil to do its job. Essential oils can also cause irritation or allergic skin reactions in some people, which is reason enough to leave them out unless you actually want the scent.
Water, aloe juice and glycerin can stay out of this particular recipe too. Adding water changes the formulation because microbial contamination and preservation become much more important, and oil and water won’t simply stay mixed on their own.
Glycerin is a humectant rather than another carrier oil and doesn’t mix into an oil-only blend in the same way either. If you want those ingredients in a shaving product, use a formula designed around them rather than casually adding them to this one.
Vitamin E is different. It can be used as an antioxidant to help slow oxidation of the oils, but that doesn’t make it a preservative against bacteria, yeast or mold. That’s worth getting right because vitamin E gets described as a natural preservative in DIY recipes far too casually.
None of these ingredients is automatically bad. They just don’t belong in this recipe without a reason, and some of them turn a very simple oil blend into something that needs much more thought. I’d get the basic jojoba and castor formula right before making it any more complicated.
Verdict: Is a DIY Shave Oil Worth Making?
I’d say DIY shave oil is worth making if you want to try shaving with oil without buying a finished product, or you want more control over how heavy the blend feels. A small batch is quick to make, and the 3:1 jojoba-to-castor formula gives you a sensible starting point that you can adjust later.
I wouldn’t assume homemade shave oil will improve every shave. If your shaving cream or soap already gives you enough lubrication, adding oil underneath may not give you much more. Ease of making it isn’t a reason to keep using it if it isn’t actually helping.
If a small amount underneath your usual shaving product noticeably improves how the razor moves, then it has a reason to stay. You can try shaving with the oil alone as well, but I wouldn’t force that method if you get a better shave with cream or soap over the top.
That’s enough to make DIY shave oil worth trying. Make a small batch, see what it actually adds to your shave, and keep using it only if the difference is worthwhile.