
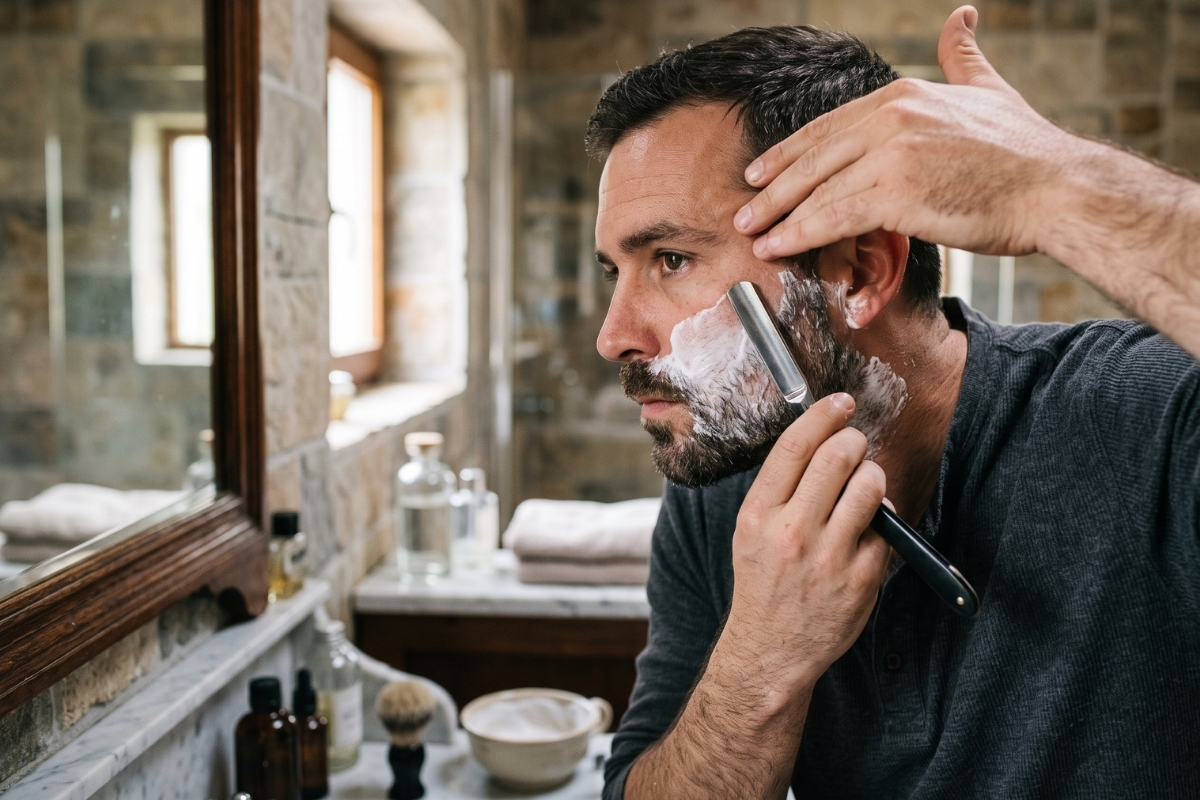
A straight razor shave feels completely different from shaving with a cartridge. If you want to learn how to shave with a straight razor, the biggest shift is realizing that small changes in technique matter from the very first stroke.
You notice that quickly. Your free hand suddenly has a job, movements you barely think about with a cartridge start affecting the result, and the razor gives you much less room to rush through the shave.
None of that means straight razor shaving has to feel complicated. I think the whole process gets a lot more natural once the basic movements start to click.

In this article
Soften the Facial Hair and Make Sure the Razor Is Ready
A straight razor should not have to fight its way through dry, stiff facial hair. Start with warm water, then work a good shaving lather over the areas you are going to shave.

Give it a little time to soften the hair before you pick up the razor. The lather should still feel slick when the blade reaches it, so if part of your face starts drying out, add a little more before shaving there.
Make sure the razor is ready too. Strop it before the shave, but do not expect stropping to bring a dull blade back to life. If the razor is still tugging or catching, it may need honing rather than another run across the strop.
And do not push harder just because the razor is struggling to cut. Check the lather, give the facial hair more time to soften, and make sure the blade is sharp enough before carrying on.
If you’re committed to learning with a traditional straight razor rather than a replaceable-blade shavette, this is where I’d put the money. At around £280, it is a serious purchase, so I would only go this route if you genuinely want the traditional straight-razor experience and the edge maintenance that comes with it.
A traditional straight razor also needs regular stropping, so this is the supporting purchase that makes sense alongside the DOVO. You do not need to turn the setup into a huge shaving kit.
My priority would be a good razor, a proper strop and a shaving lather that stays slick while you work.
Start at About a 30-Degree Angle
Aim for roughly a 30-degree angle between the straight razor and your skin. A simple way to find it is to start with the blade almost flat against your face, then raise the back slightly until it starts cutting the facial hair comfortably.

Too flat and the razor can skim over the hair instead of cutting it. Tilt it too far away from your face and the shave starts to feel harsher, with more chance of irritation or a nick.
You do not need to hold exactly 30 degrees everywhere. Your face is not flat, so expect to make small adjustments as you move from the cheek toward the jaw and chin.
Pay more attention to how the razor feels than whether the angle looks perfect. If it starts dragging, scraping or making you want to push harder, stop and adjust the blade slightly before carrying on.
Stretch the Skin Before You Move the Blade
A straight razor is easier to use when the skin is firm rather than loose. Use your free hand to gently pull the skin away from the part you are about to shave before the blade starts moving.

You do not need to pull hard. Just stretch the skin enough to make the area easier for the razor to move across, especially around the jaw and neck.
Keep your free hand still while you make the stroke. Finish, lift the razor, then move your hand before starting again. I would not try to adjust anything while the blade is still moving.
If your fingers keep slipping because of the lather, wipe a small patch of skin dry so you have something to hold onto.
Work on one small section at a time. Stretch it, shave it, then move on. There is no need to pull the whole side of your face tight.
Use Short, Light Strokes With the Grain First
Once you have the angle right and the skin stretched, keep the first pass simple. Follow the way your facial hair grows and use short strokes rather than trying to shave a large area in one go.

With the grain does not always mean straight down. Hair can change direction around the jaw, chin and neck, so follow the way yours actually grows.
Keep your hand light and move the razor in one direction. Finish the stroke, lift the blade away from your face, then start again. Do not move it back and forth or sideways across the skin.
Shorter strokes also make the curved parts of your face easier to deal with. Instead of trying to take one long stroke from the cheek down toward the jaw, stop and reposition the razor as the shape of your face changes.
Wipe the blade as you go so lather and cut hair do not build up. Keep your fingers well away from the blade when you clean it.
For the first pass, I’d stick with the grain and not worry about removing every last bit of stubble. See how your skin feels afterward, then decide whether another pass is actually worth it.
The Upper Lip, Chin, Jaw and Neck Need Different Hand Positions
Your cheek is fairly easy to shave because there is plenty of room to work. The upper lip, chin, jaw and neck are different. There are more curves and tighter spaces, so you cannot expect the same hand position to work everywhere.
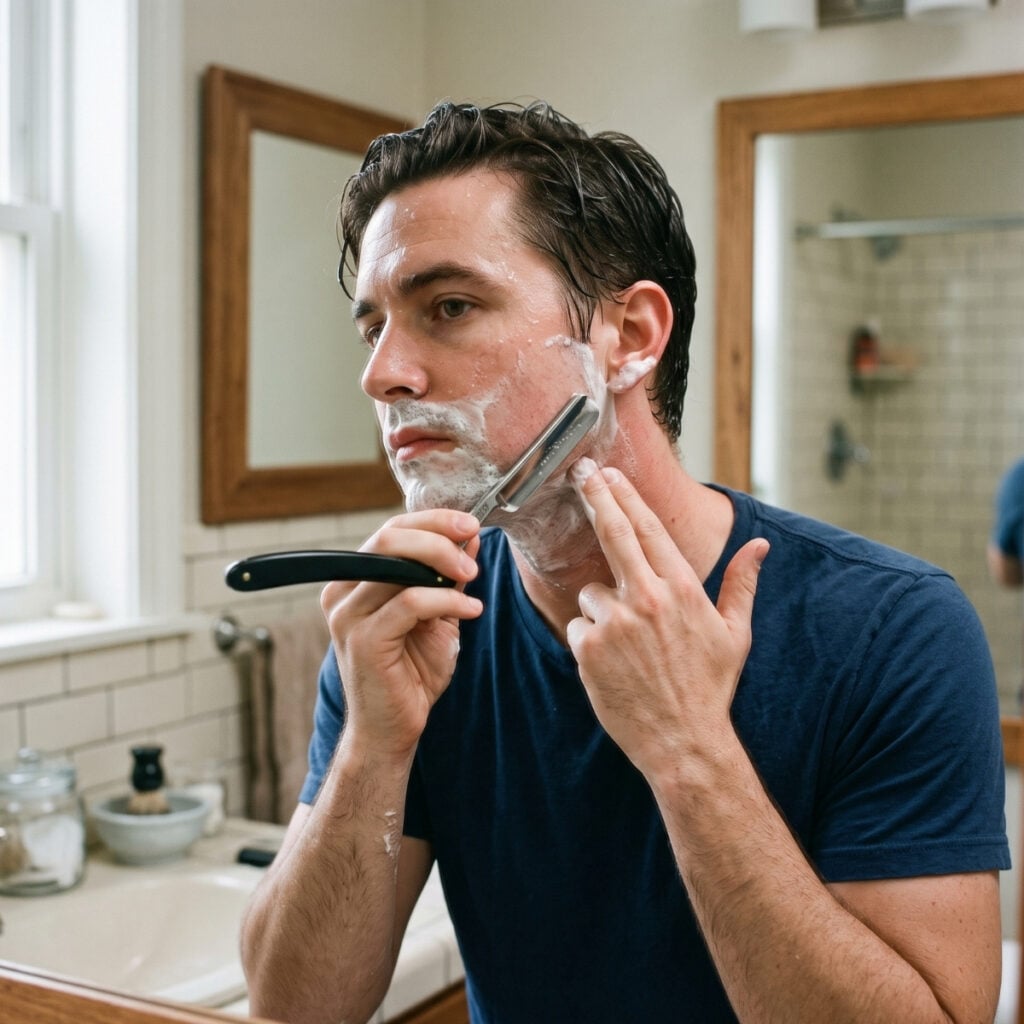
Under the nose, keep the strokes short. Use your free hand or move your mouth slightly to flatten the area you are shaving, and deal with the narrow section beneath the nostrils a little at a time.
Take the same approach around the chin. Move the razor as you work around the curve rather than trying to follow the whole shape in one stroke. I would rather stop and change position a few times than let the angle get awkward halfway through.
The jaw is usually easier if you move the skin away from the sharpest part of the curve. Pull it slightly toward the cheek or neck, then shave the flatter area you have created instead of running the razor straight over the jawline.
On the neck, stretch the skin where you are shaving and pay attention to which way the facial hair grows. It can change direction around here, so do not assume the stroke that worked on your jaw will still be right a little lower down.
Your grip will change as you move around your face, and that is exactly what should happen. Adjust your hand, shorten the stroke when you need to, and make each area easier to shave rather than forcing one technique everywhere.
Don’t Chase a Closer Shave Once the First Pass Is Good
After the first pass, rinse your face and check the result. You do not need perfectly smooth skin after one pass for the shave to have gone well.

If you want to shave an area again, put fresh lather on first. Do not keep running the razor over bare skin just because you can still feel some stubble.
Once you are comfortable with the razor, you can try a second pass across the grain for a closer result. I would leave against-the-grain shaving until you are much more confident with the technique. Trying to remove every last bit of stubble is when it becomes easy to use too much pressure or keep going over the same patch.
Watch how your skin is reacting too. If an area already feels sore, looks irritated or has been shaved several times, leave it alone.
A little stubble left behind is a much better result than pushing the shave until your skin is irritated.
Verdict: Straight Razor Shaving Gets Easier When You Stop Forcing It
If you are learning how to shave with a straight razor, do not judge the shave only by how smooth your face feels at the end. Start around a 30-degree angle, keep the skin stretched and use a light hand.
If the razor starts dragging or you feel yourself wanting to push harder, stop. Check what is going wrong before you carry on rather than trying to force the blade through.
You do not need another pass just because you can still feel a little stubble. If your skin feels good, leaving some behind can be the better call.
For me, that is what a good straight razor shave comes down to. Get comfortable using the razor first. The closer shaves can come later.