
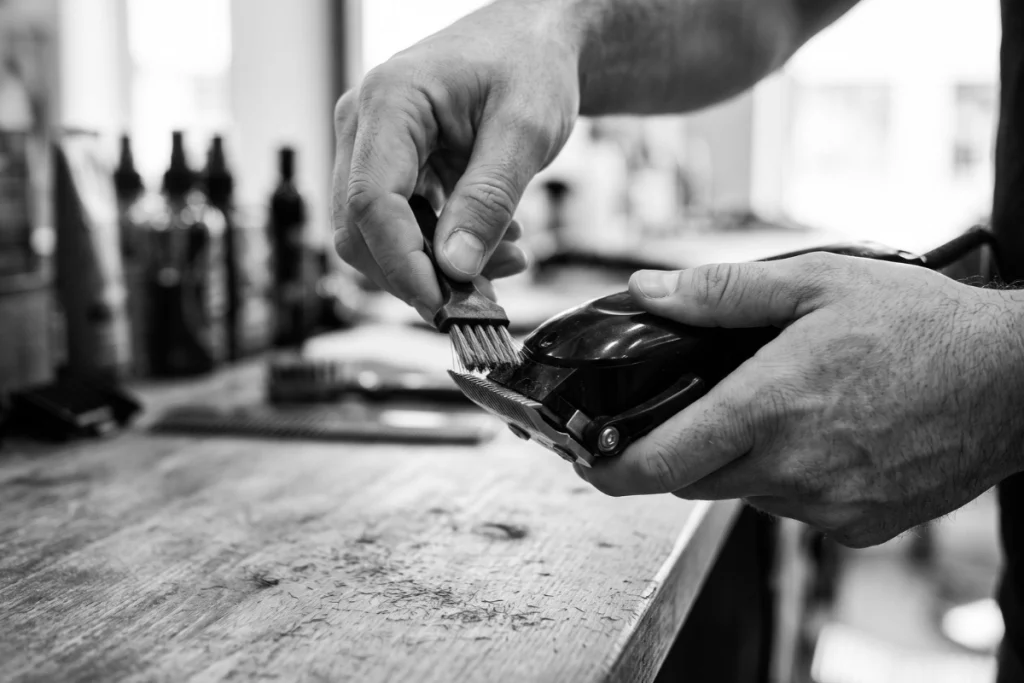
Clippers that tug at your hair can make you regret starting a haircut. Before you blame the blades or buy a replacement, check what’s packed around the cutting head. They may need a proper clean.
The trouble with advice on how to clean hair clippers is that it often treats every model the same. One guide says rinse them, another says soak the blades, and yours might need to stay dry. Getting this right starts with knowing what your tool can handle. Then you can clear out the buildup without creating a more expensive problem.
In this article
Check Your Clippers Before You Reach for Water
Start by finding out which parts can get wet. The handle, blade head and comb attachments may need different cleaning methods. Being cordless doesn’t make the whole tool waterproof.
Check the manual for your model:
| Your clipper type | How to clean it |
|---|---|
| Dry cleaning only | Brush out the hair and use the recommended blade-care products. |
| Washable head or attachments | Remove and rinse the parts marked as washable, keeping the handle dry. |
| Fully washable clippers | Follow the washing instructions. Only soak the tool if the manual says you can. |
The guard is the comb attachment that controls cutting length. The blade head does the cutting. When you see “washable attachments,” find out whether that means the guards alone or includes the cutting head.
Can’t find the manual? Search the model number on the manufacturer’s website. Use the exact model rather than general advice for the brand, since one company may sell both washable and dry-clean-only clippers.
How to Clean Hair Clippers at Home
Get a small cleaning brush, a clean cloth and the blade-care products recommended for your clippers. You’ll need a suitable disinfectant, plus clipper oil if your model needs oiling. Check the bottle before buying: a blade cleaner isn’t automatically a disinfectant.
1. Switch Off and Brush Out the Loose Hair
Turn the clippers off and unplug them, including any charging cable. Remove the guard and brush the hair from its teeth and the cutting blades.
Hold the blades pointing downward so loose hair falls out. Work across the teeth and around the blade head with the cleaning brush. Get the visible buildup out before adding any liquid cleaner.
2. Clear Hair Trapped Under the Blades

Hair can collect behind the cutting head where brushing the teeth won’t reach. If your clippers have a head designed to come off for cleaning, remove it and brush underneath.
A head that snaps off is different from blades held in place by screws. You don’t need to start undoing screws after every haircut. Before removing screwed-on blades, check how they go back together. Use the manual’s fitting diagram when putting them back rather than guessing the blade position.
Rinse washable heads as directed. For blades that must stay dry, use the recommended blade cleaner. Use soap on the cutting head only if the manufacturer allows it.
3. Clean the Guards and Wipe the Handle
Brush hair from the guards, including the clips that attach them to the tool. Wash them if the manufacturer says you can, then let them dry fully. Check for cracked or missing teeth before putting them back.
Wipe the handle with a soft cloth, lightly dampened if allowed. Keep liquid out of switches, openings and the charging port.
4. Disinfect the Blades and Give the Product Time to Work

Apply a disinfectant that’s safe for your clipper blades, following the directions on the label. Look for the contact time. That’s how long the blades need to stay wet with the product. Don’t spray and immediately wipe it off. Different products need different waiting times.
Read the whole label so you know whether to wipe the product off, rinse it away or leave it to dry.
5. Dry the Parts and Oil the Blades if Needed

Once the parts are dry, refit the cutting head and make sure it’s secure.
If your clippers need oil, the manual will show you which oil to use, where to put it and how much. A multipurpose spray may lubricate the blades without replacing separate blade oil. Skip this step if yours are designed to run without added oil.
Run the clippers briefly, away from your skin, and listen for anything unusual. Switch them off before checking a loose head or wiping away excess oil.
Can You Clean Hair Clippers With Rubbing Alcohol?
Use rubbing alcohol only if your clipper’s maker allows it on the parts you’re cleaning. Alcohol can strip away blade oil and damage some plastics or rubber. Having metal blades doesn’t mean every part of the cutting head can handle it.
If the maker recommends alcohol, use the strength it lists and follow its cleaning instructions. Don’t swap in a stronger bottle on the assumption that it will work better.
For regular cleaning, I’d choose a blade disinfectant that’s safe for your clippers and clearly explains how to use it. If you want to clean hair clippers without alcohol, check the ingredients before buying. Some clipper sprays contain it, even when alcohol isn’t mentioned on the front of the can.
Hand sanitizer gel and homemade vinegar mixtures aren’t substitutes for a suitable blade disinfectant. Gels can also leave residue between the teeth. Keep those out of your clipper-cleaning kit.
How Often Should You Clean Hair Clippers?
Brush out the hair after every use, before putting the clippers away. Even a quick neckline tidy can leave short hairs around the teeth and behind the guard.
How often you need a deeper clean depends on how much you use the tool and what you’re cutting through. Look for greasy residue, styling-product buildup or hair collecting beneath the head. Follow your model’s cleaning schedule, but clear out buildup when you spot it rather than leaving it until the next planned clean.
If you share clippers, clean and disinfect them between people, including any guards used.
Clippers that need blade oil may need oiling more often than a thorough clean. Follow the tool’s oiling advice rather than waiting until the blades start pulling.
Put everything away dry, somewhere it won’t collect loose hair or get splashed beside the sink. A case helps keep clean clippers clean, provided you aren’t closing damp parts inside it.
Still Pulling Hair After Cleaning?
If your clippers still tug, stop going over the same patch. Check the power and blade fit before assuming the blades are worn out.
Start with a charged battery if you use cordless clippers. When the trouble starts straight after cleaning, check anything you removed. Switch the tool off, refit the cutting head correctly and make sure the guard is secure.
Look for anything missed during cleaning, such as hair behind a removable head. For blades that need oil, make sure you completed that step before testing the clippers again.
Inspect the teeth while the tool is off. Chipped or bent teeth mean the blade needs replacing before you use the clippers again.
If those checks don’t solve the pulling, the blades may be worn. If the clippers keep rattling or the motor sounds weak, have them checked. Ask the maker whether you need replacement blades or a repair before spending money on parts, especially if the clippers are still under warranty.